What size pool patio is perfect?
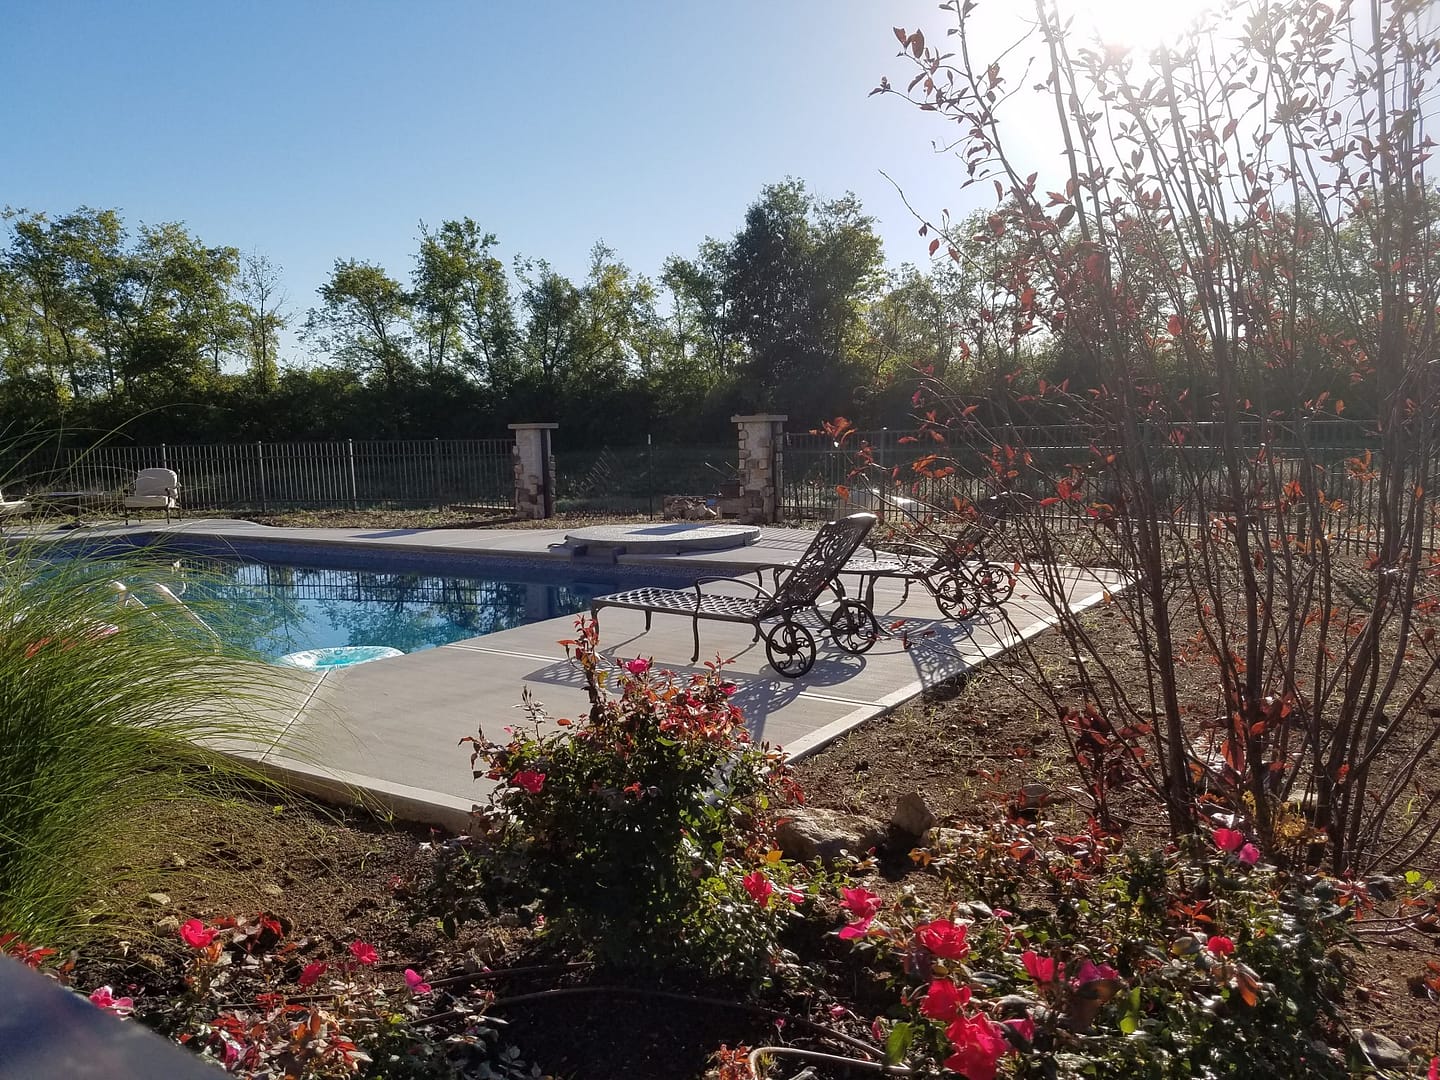
In most cases, an average of 600 and 900 square feet is well enough to cover a pool patio. That gives you space for a table and chair set, possibly a few chaise lounges, and plenty of space to walk around your furniture. Should you be planning to build your pool patio deck or paver patio, you may even need less space. The more entertaining you plan to do, the more space you will need, however.
Budgeting, Building and Consolidating
The number one way to follow your budget is to consolidate your building plans. Focus on the entertaining areas and then put emphasis on the other areas so they are attractive and functional.
If you’ve budgeted for 800 square feet for the pool patio, the best plan of action would be to focus on your entertainment area rather than the whole of the pool. Otherwise you’ll be without a single place to gather when guests are over.
The best way to use your space is to congeal as much of your 800 square foot budget into a maximum of two areas. However you decide to split up your footage, make sure you are leaving enough space for several people to stand and chat.
Leave Room for the Future
If you can’t afford to create a massive space, be sure to keep an eye on the future. Make the best use of your patio when you’re building an extra space. Some people decide to take into consideration their entire backyard during the design process. This enables them to install a kitchen, pool, and of course entertainment area without any added pressure. After their pool is installed, the next step is to build a patio, fire pit, spa, outdoor kitchen and all the other elements they are looking for.
What type of Pool “decking” should I get?
There are 3 main types of concrete options for your in ground swimming pool patio. They all have their advantages and disadvantages. It really is up to your personal taste, and also what your budget is, as some options can quickly add to the cost of the swimming pool.
Broomed concrete
First and most common is “broomed” concrete. This concrete is worked to be nice and flat, and at the last minute a special broom is ran across the top of the concrete. The concrete can be the typical gray, or can be any color imaginable. There are two main benefits to the broom concrete. First, it is the most affordable option for concrete. Second, the broomed finish is less slippery then stamped concrete, but not as slip resistant as exposed aggregate.
Exposed Aggregate
Exposed aggregate is a special mix of concrete that has small pebbles in the batch. The concrete is poured just like broomed concrete, and everything is worked to create a nice level finish. Then after the concrete has been poured a special chemical material (rugasol) is sprayed all over the concrete. This rugasol works its magic and later that day a pressure washer sprays the concrete and exposes the aggregate (IE rocks). The look is really cool, and it is the most slip resistant concrete finish out there. Another advantage is if (or when) the concrete cracks, the crack(s) are a lot less visible, they are almost camouflaged. The downsides are the price is a little bit more expensive than regular broomed concrete. Second the color cannot be changed. And finally the concrete will have to be sealed every two years. The cost of sealer is approximately 150 bucks for 600 square feet and is pretty easy to do it yourself, or some companies will reseal your concrete for a reasonable price.
Stamped Concrete
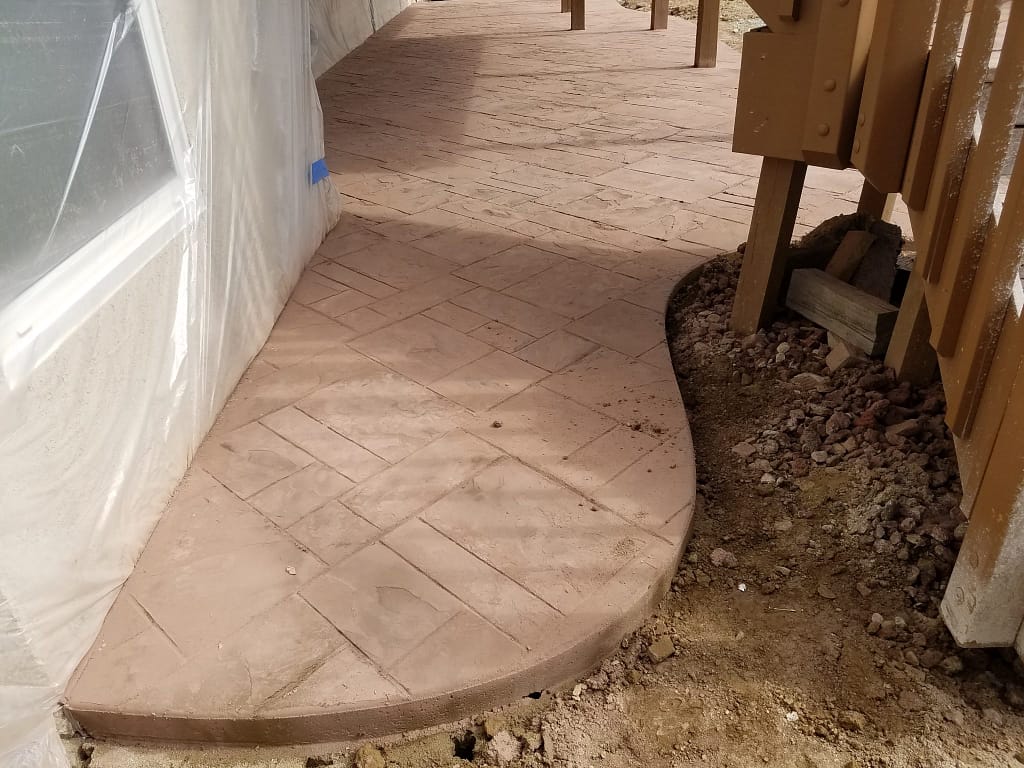
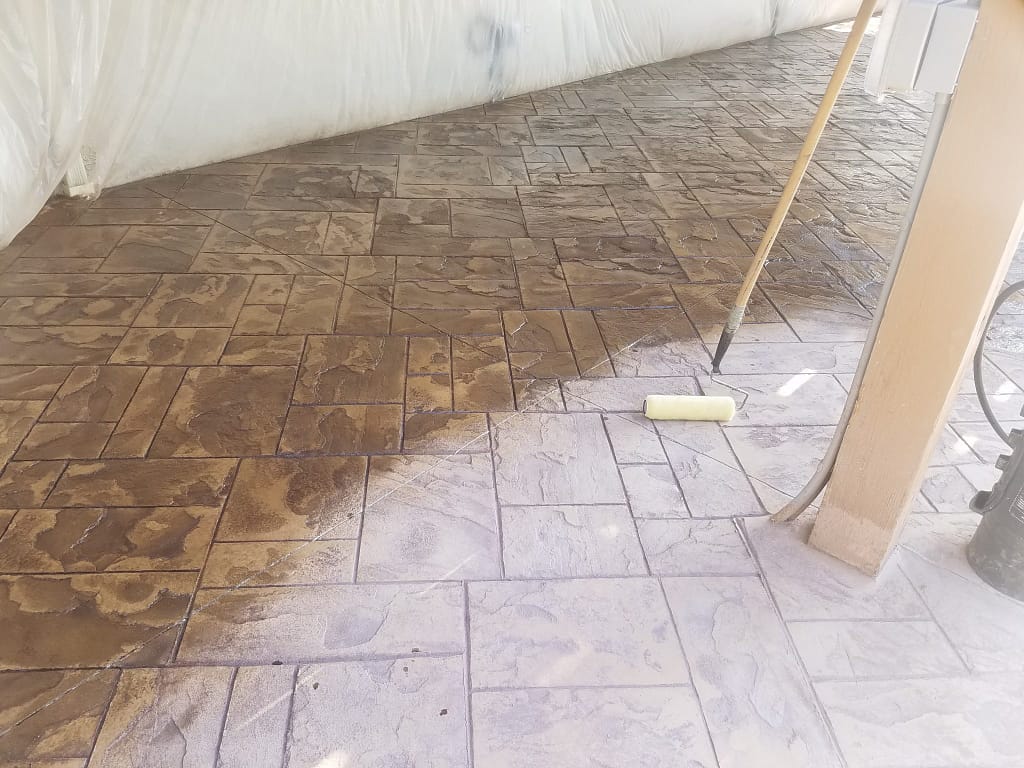
The third and last option is stamped. Stamped is by far the most expensive option out there as there is a lot of labor and extra materials that go into stamped. The stamp can be done in two ways. The first is with a pattern like pavers, or bigger blocks. The second way is a random, usually stonish pattern. Some people LOVE the look of stamped concrete, and the options are limitless. There are thousands of different patterns, and the tons of color options. The downsides are cost, and the most slippery option. I use a chemical grip sealer on top of the stamped concrete to give it some resistance to water, but it really doesn’t do a great job.
Now on to the one thing that is 100% always true about concrete…
Concrete and Cracking
No matter who you choose to handle your concrete needs, your concrete is guaranteed to crack. However, there are a few things you can do to minimize cracking and control it. Let’s talk about why that happens.
The process starts as soon as the concrete is poured. Directly after it is poured, it hits the ground and starts to ‘cure’ and as this happens it shrinks. The greatest shrinkage occurs within the 48 hours following the time it was poured. It then starts to pull itself apart. Similar to a dried up mud puddle.
Concrete shrinkage
Concrete shrinks at a rate of about one eighth of an inch for every fifteen feet. Experts like us try to control cracking via perforations in the concrete so that it cracks there instead of in other areas. We call them control joints and all we do is use hand tooled joints in specific areas to do this. When done properly, concrete cracks happened where they are directed.
In some cases, however, hairline cracks or shrinking causes cracks to happen outside of the joint lines we lay. Shrinkage often occurs within the first 28 days, but you could see them as early as 48 hours afterwards.
Structural Crack
It is important to distinguish between shrinkage cracks and structural cracks. Shrinkage cracks are not covered by a 5-year limited warranty, structural concretes are. It is rather evident when cracks are coming from shrinkage versus structural problems. Structural cracks show signs of ground movement. Concrete that has moved higher or lower has been affected by structural problems.
If you can’t stand cracks in your concrete, you probably shouldn’t choose it for your home. But if you can grasp that small cracks are a part of the concrete laying process, then it will be right for you. In the end, no one can guarantee crack-free concrete.


